
This guide provides step-by-step instructions for locating your lab order within the Vida app and ensures you have the necessary information for a successful laboratory visit.
Locating Your Lab Order
When your provider issues a lab order, you will receive a mobile notification. You may tap this alert to view your instructions or follow the manual steps below.
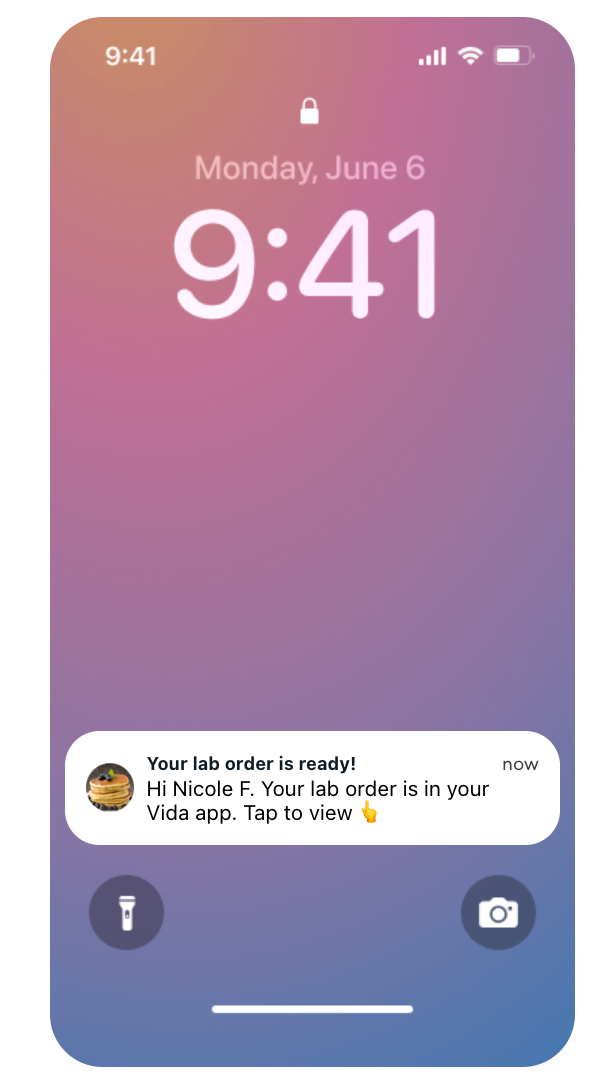
Note: Notification appearance may vary depending on your device and OS settings.
Step-by-Step Instructions
Access Settings From the Home screen, tap the Gear Icon (⚙️) in the top right corner.
Open Documents Select Documents from the settings menu.
Open the Lab Order Select the file labeled “Lab Order – [Your Name]”.
Print or Share Tap the Share Icon (↗️) to print the order.
Important: A printed document is required at the lab unless you have opted in for Quest or LabCorp digital lab ordering.
Insurance & Lab Selection
You may take your Vida lab order to any laboratory facility that accepts your insurance. To ensure the best experience, please keep the following in mind:
In-Network Verification: We recommend contacting your insurance provider to confirm that your preferred laboratory is in-network.
Billing: Your lab tests are billed directly through your insurance. You will be responsible for any co-pays or deductibles as defined by your specific plan.
Account Numbers: Your Vida lab order contains all required clinical data for the lab to perform your tests. It does not include a facility-specific account number.
Professional Tip: If a lab representative asks for an account number, please inform them that the order should be processed directly through your personal insurance.
Contact Support
If you encounter any difficulties at the laboratory or if the facility requires further clarification, please contact our support team for real-time assistance:
Email: support@vida.com